Postman
Using the API Collections:
Prerequisite:
Postman Account: If you don't have a Postman account you can create one here.
Steps for using the Collection:
Navigate to the list of APIs on the KPN Developer's postman site.
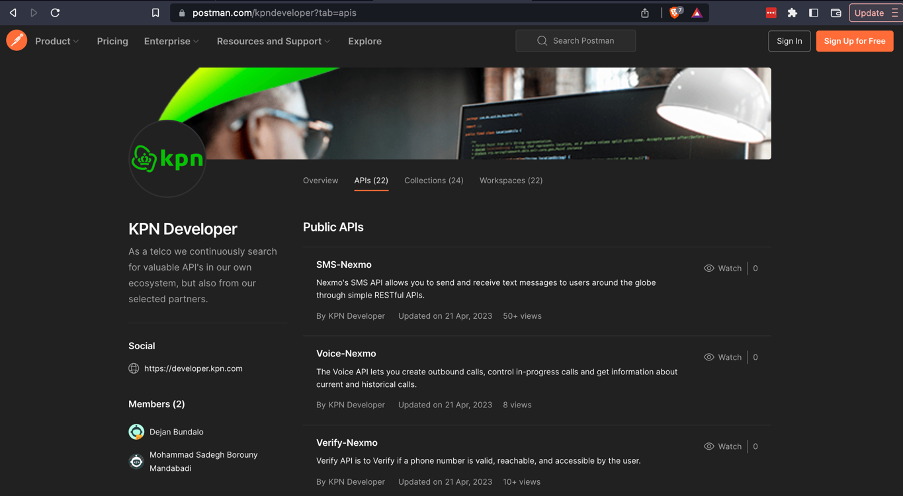
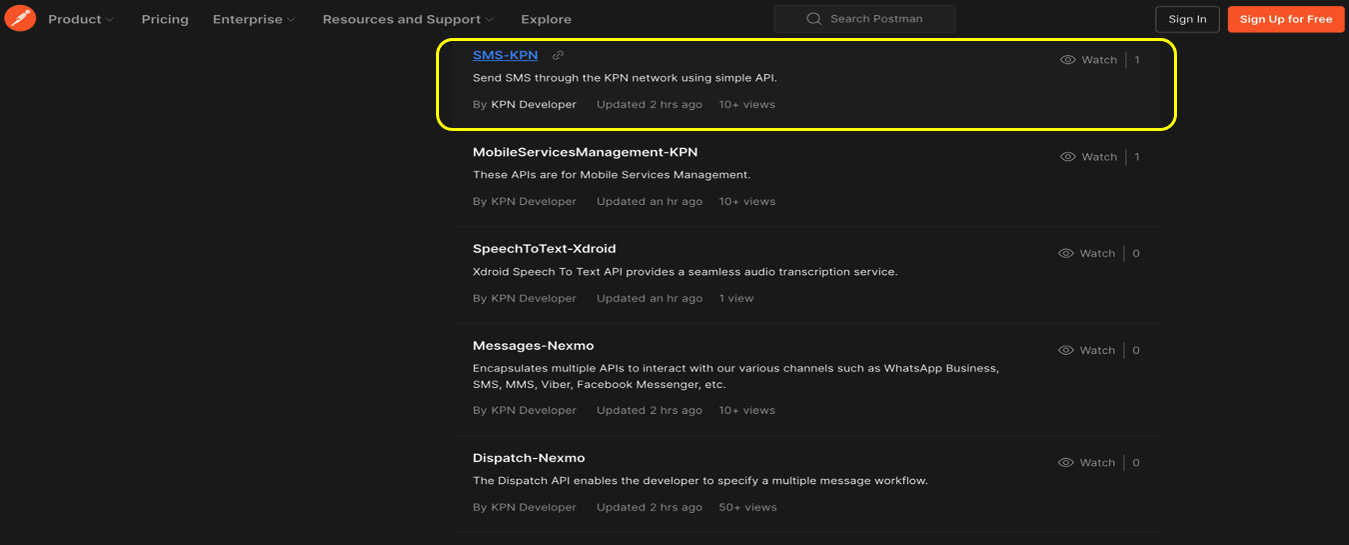
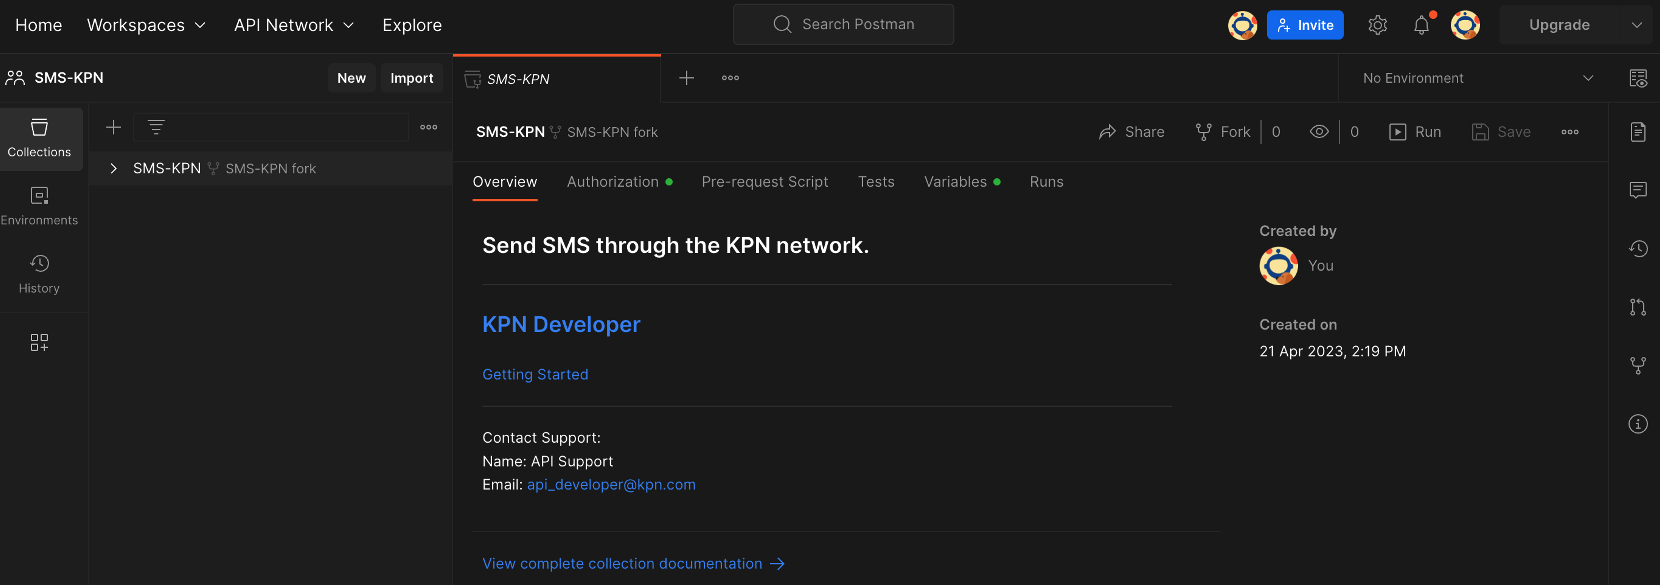
Choose the API from the list. “SMS-KPN” Is taken as an example.
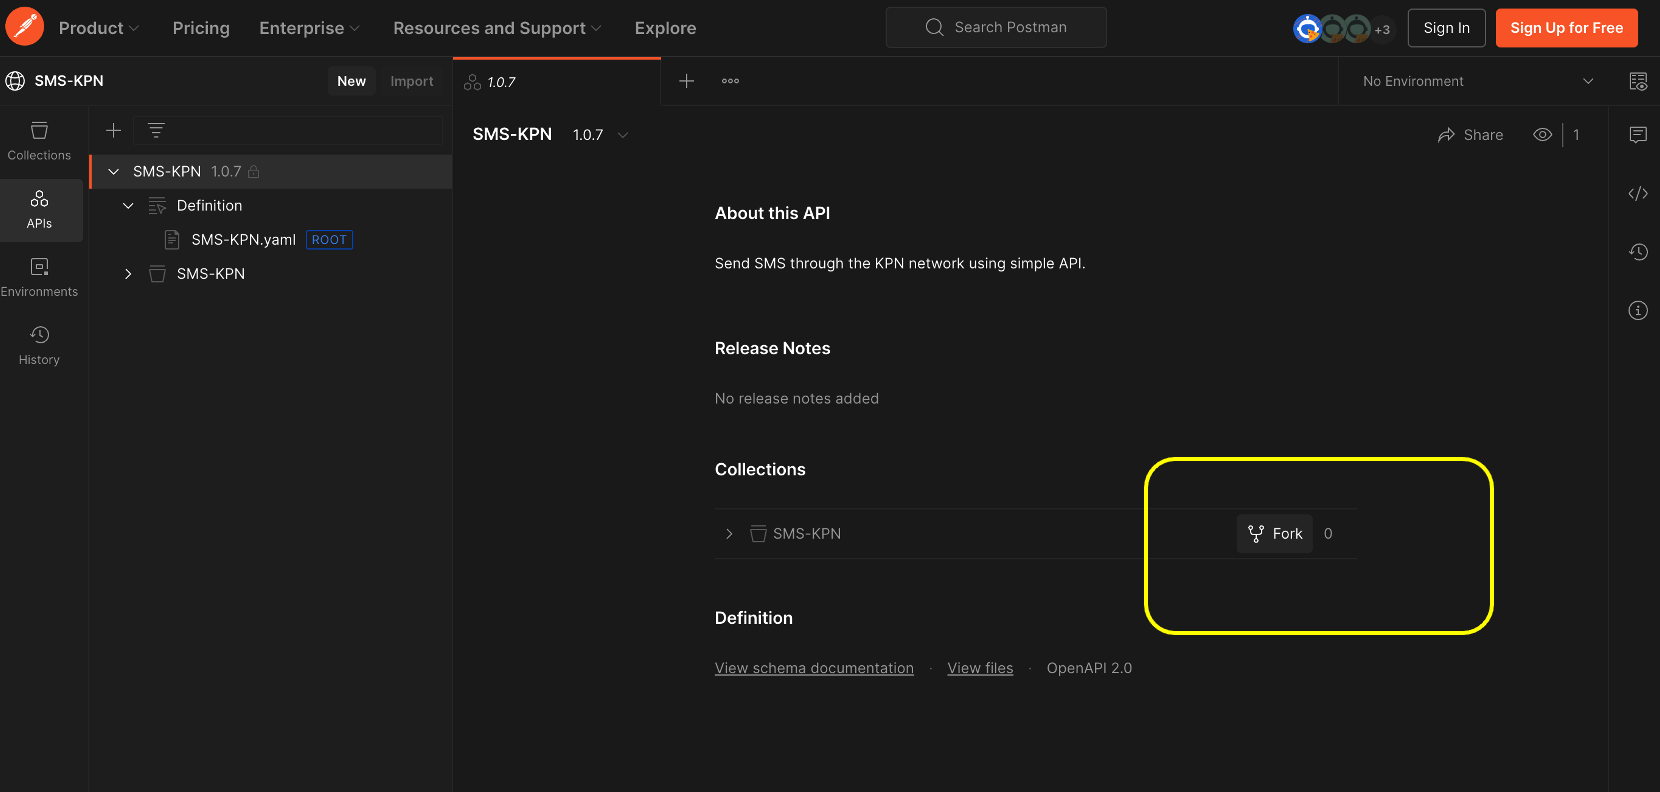
It takes you to the workspace of the chosen API. Click on the “Fork” icon. In this case, “SMS-KPN” is the workspace, and we click on the “Fork” icon shown below.
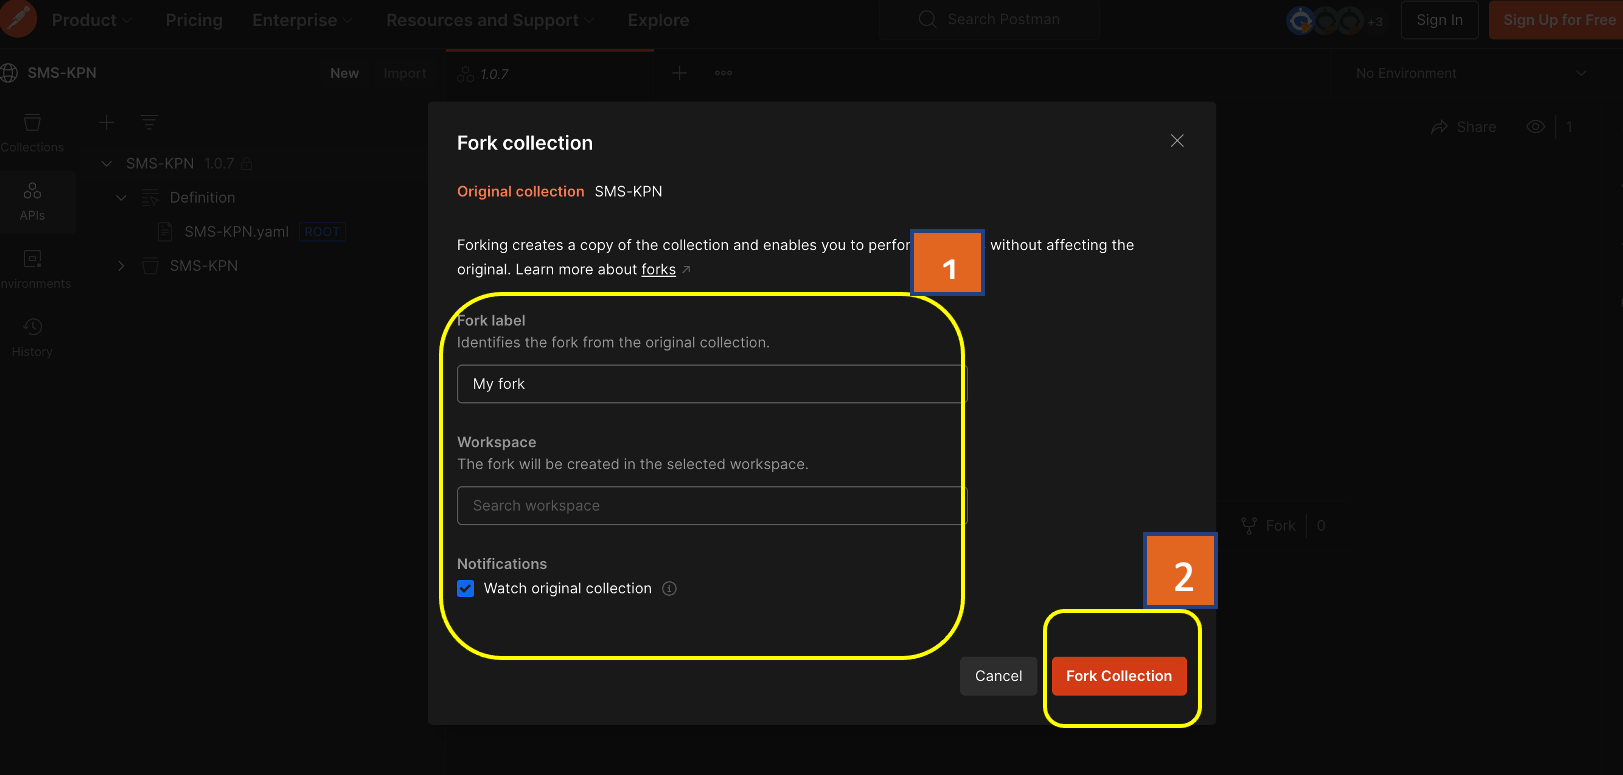
Enter the “Fork label” and “Workspace" names as shown in the below screenshot. Select the “Notification" checkbox. This will enable notification in case of any changes in the collection, notification will be sent via email. Finally, click the “Fork Collection” button to fork the collection.
This will open the “Sign In” pop-up.
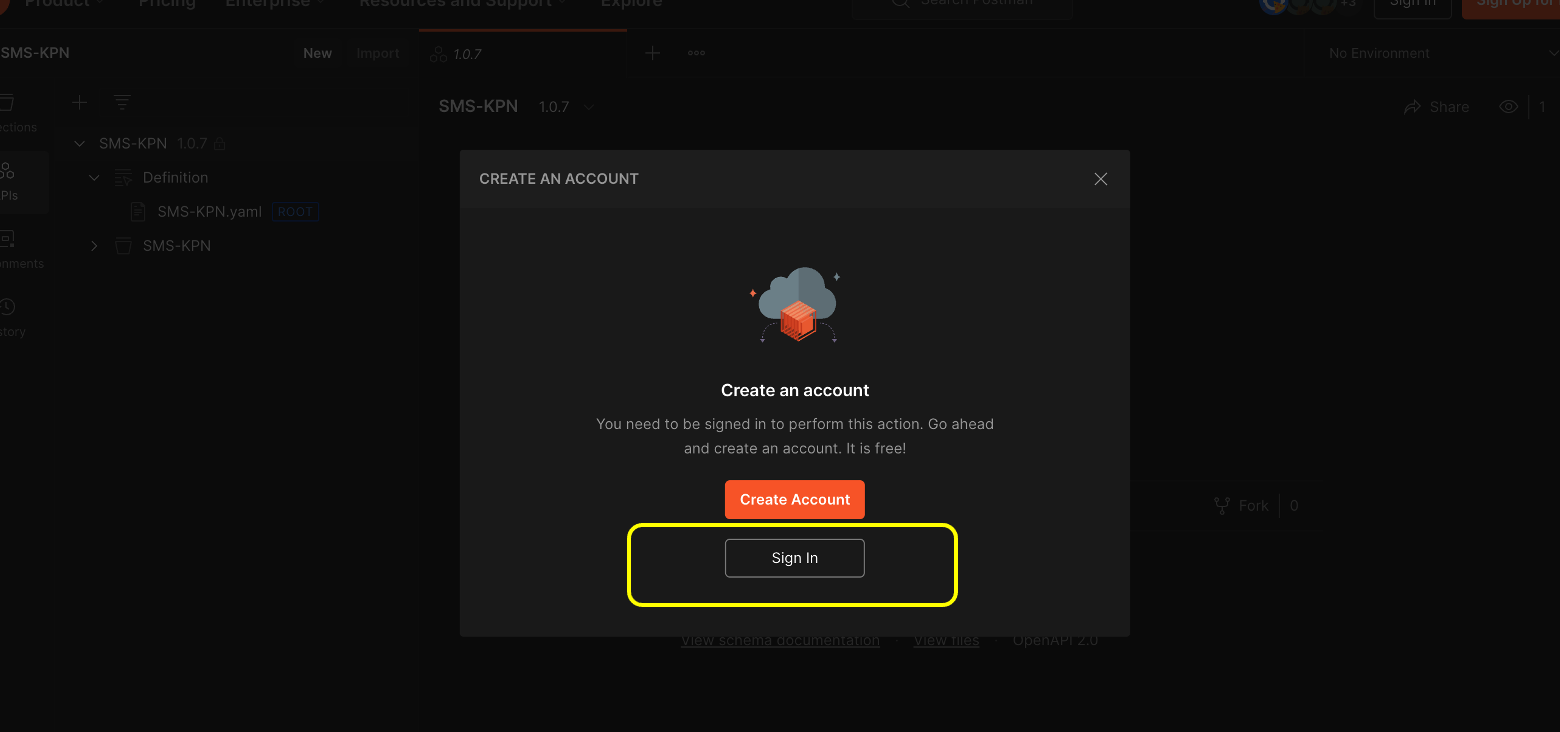
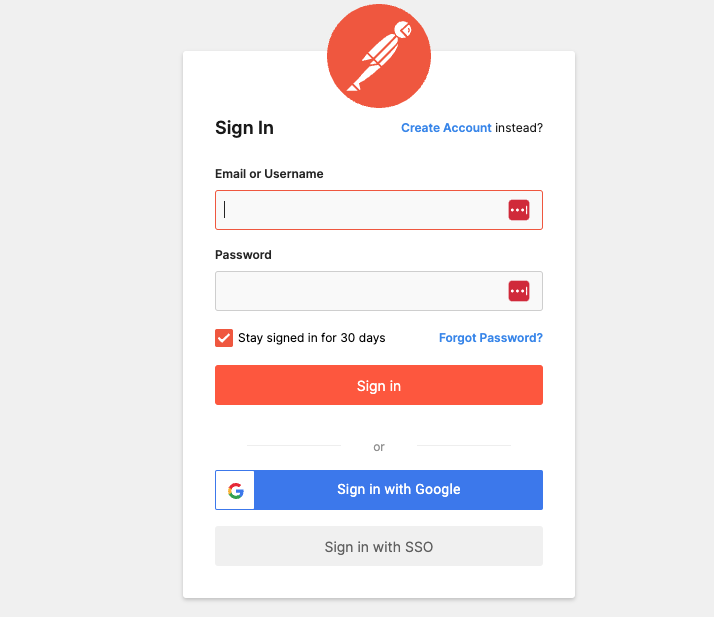
Provide “Postman” Credentials to log in.
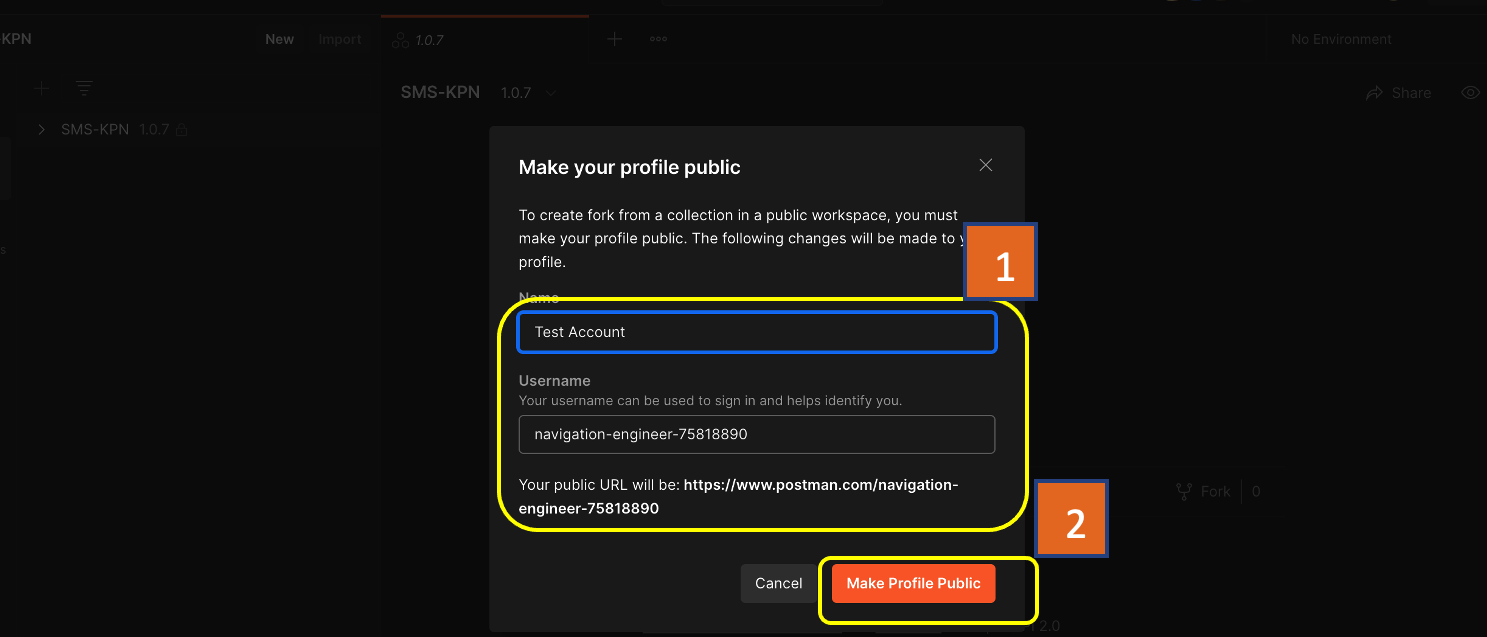
Give the “Fork Label” and “Workspace” details.
Click on “Make my Profile Public”. This setting can be adjusted later.
The Postman collection is now Forked in your local workspace of “Postman”.
Click on “Collections” and choose the API Collection name. Move to the
“Variables” section, as shown below. Enter your “client_Id” and “client_secret” (if you don’t have the keys, you can request them via KPN Developer Portal).
Also, populate the other variables, these variables will be used for testing the endpoints. ”Save” the changes.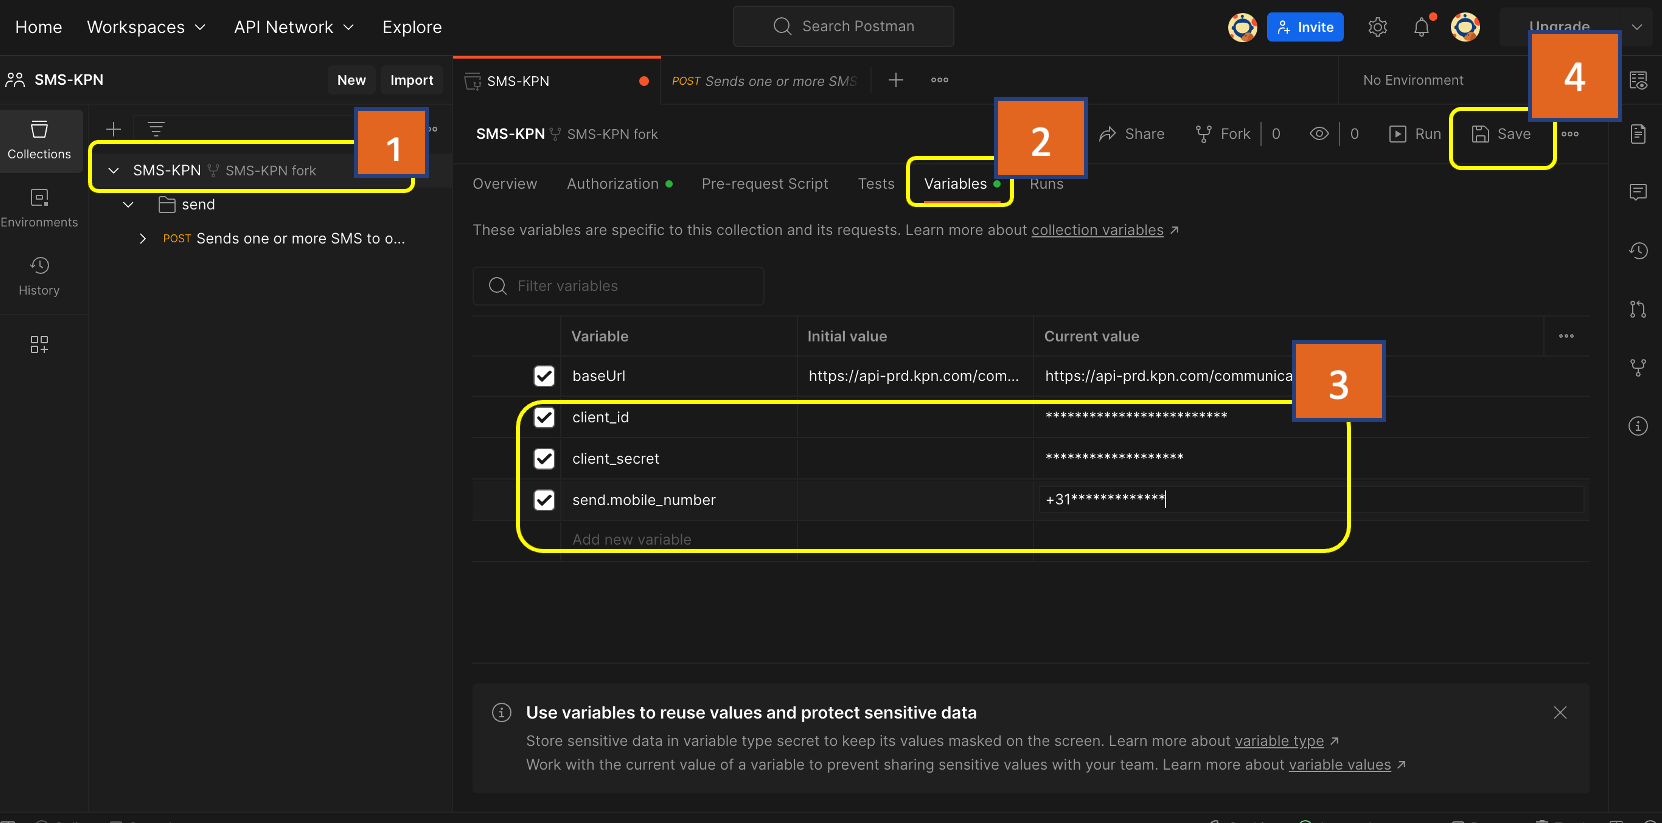
The next Step is to generate an access token. This token will be sent as part of the “Authorization” header.
Click on the “Authorization” section. Click on the “Get New Access Token“.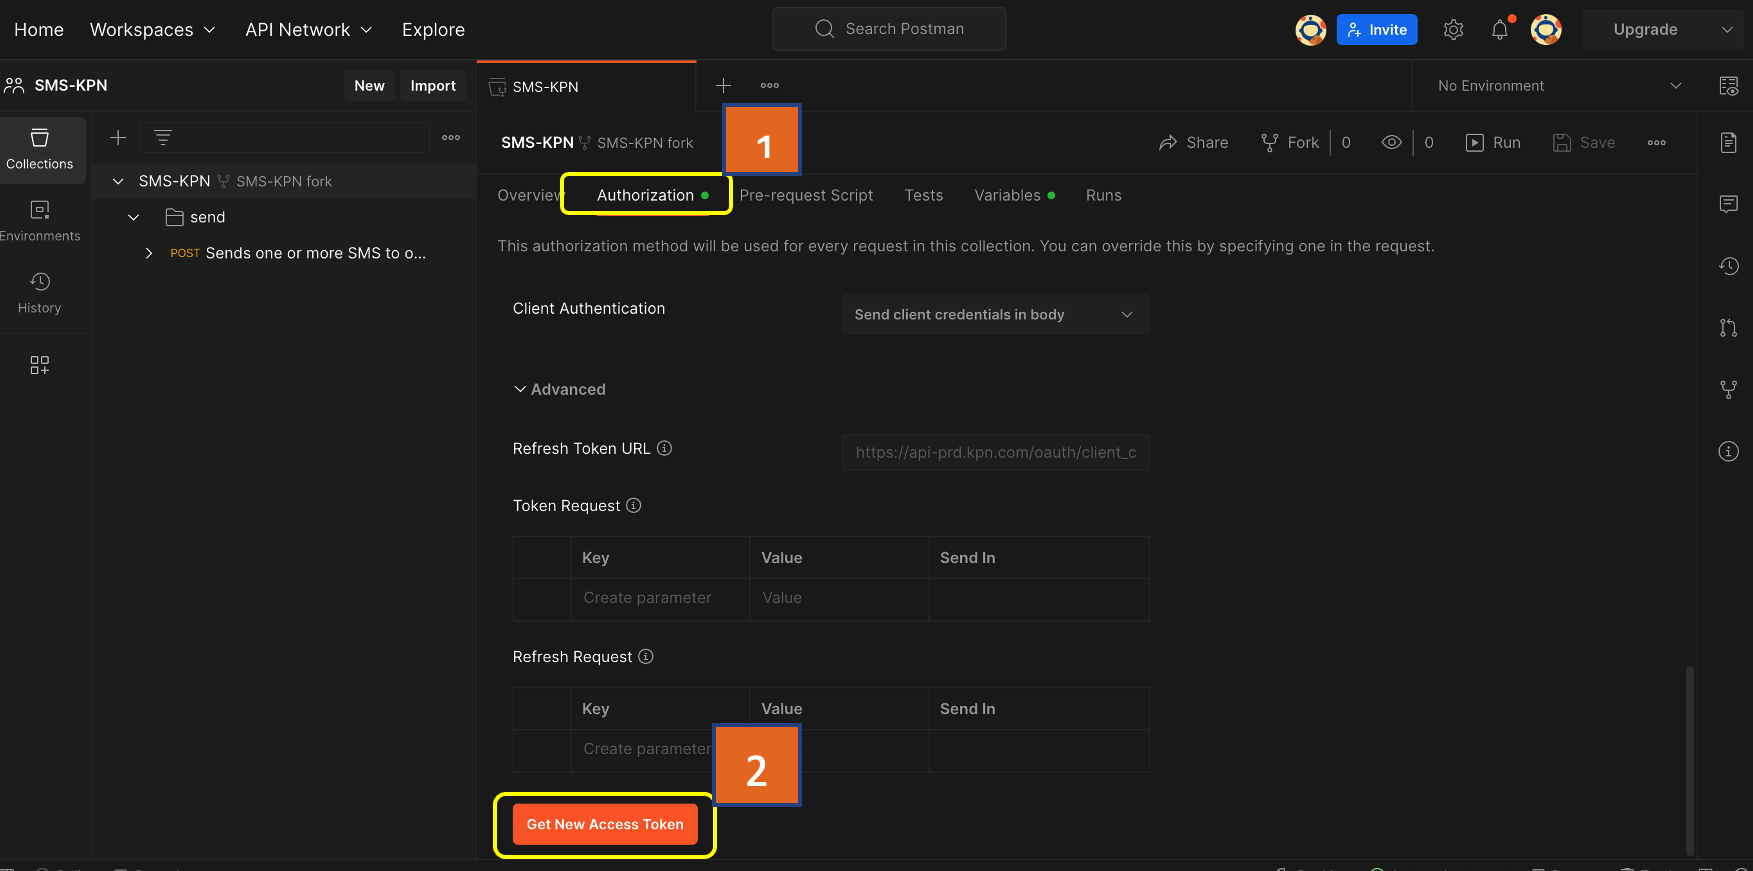
This will open a pop-up, click “Proceed.”
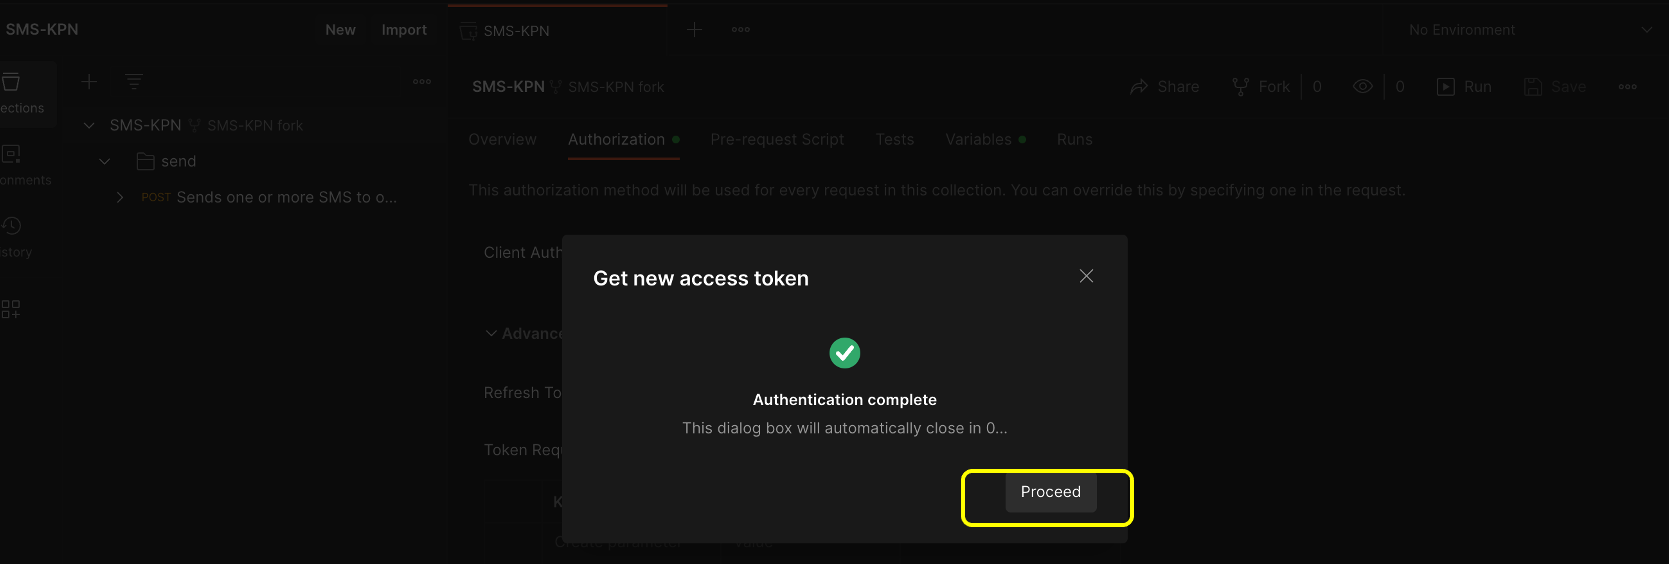
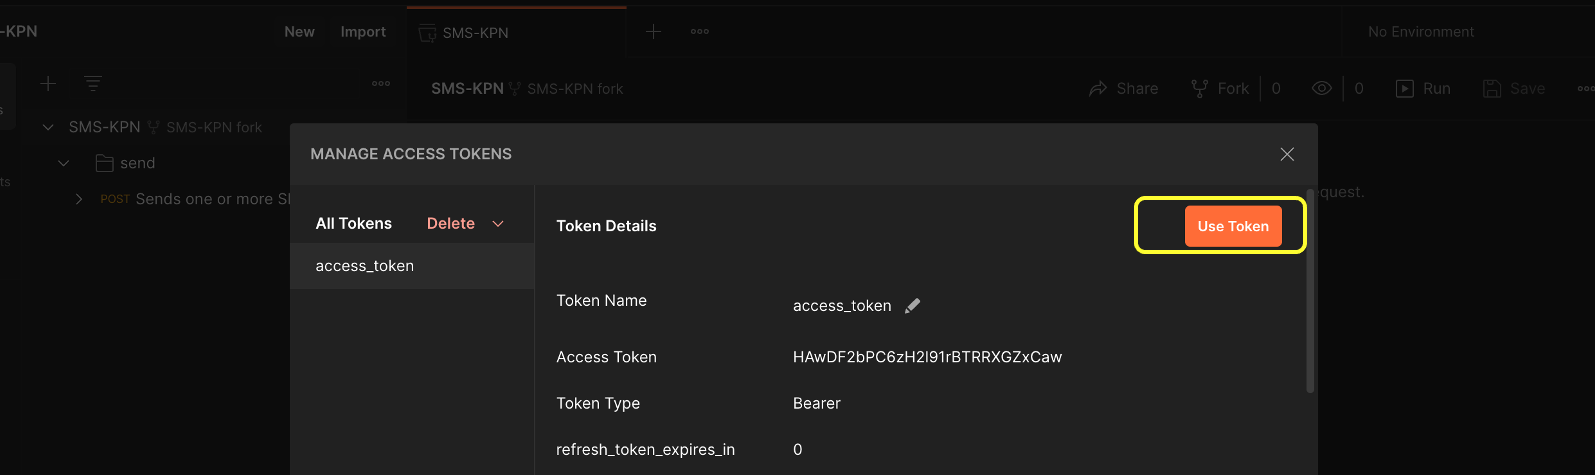
Click on “Use Token”. This will make the currently generated token ready for use. The old access token will be overwritten.
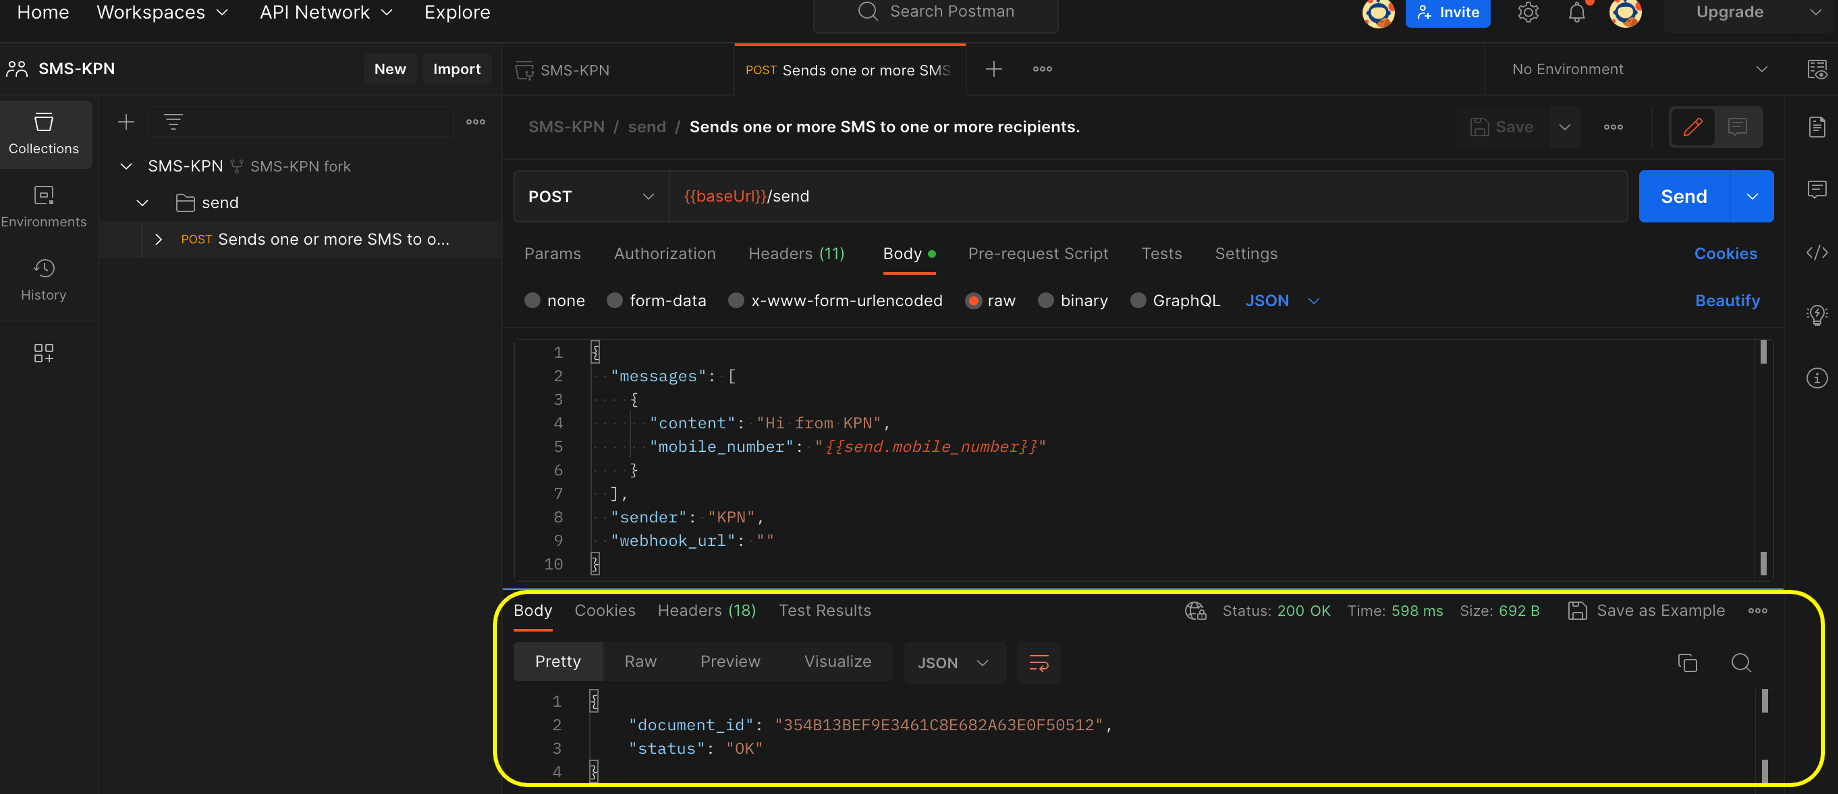
Move to the “Endpoint“ in the collection. Fill in the request parameters and payload if needed. Press “Send” to test the API.
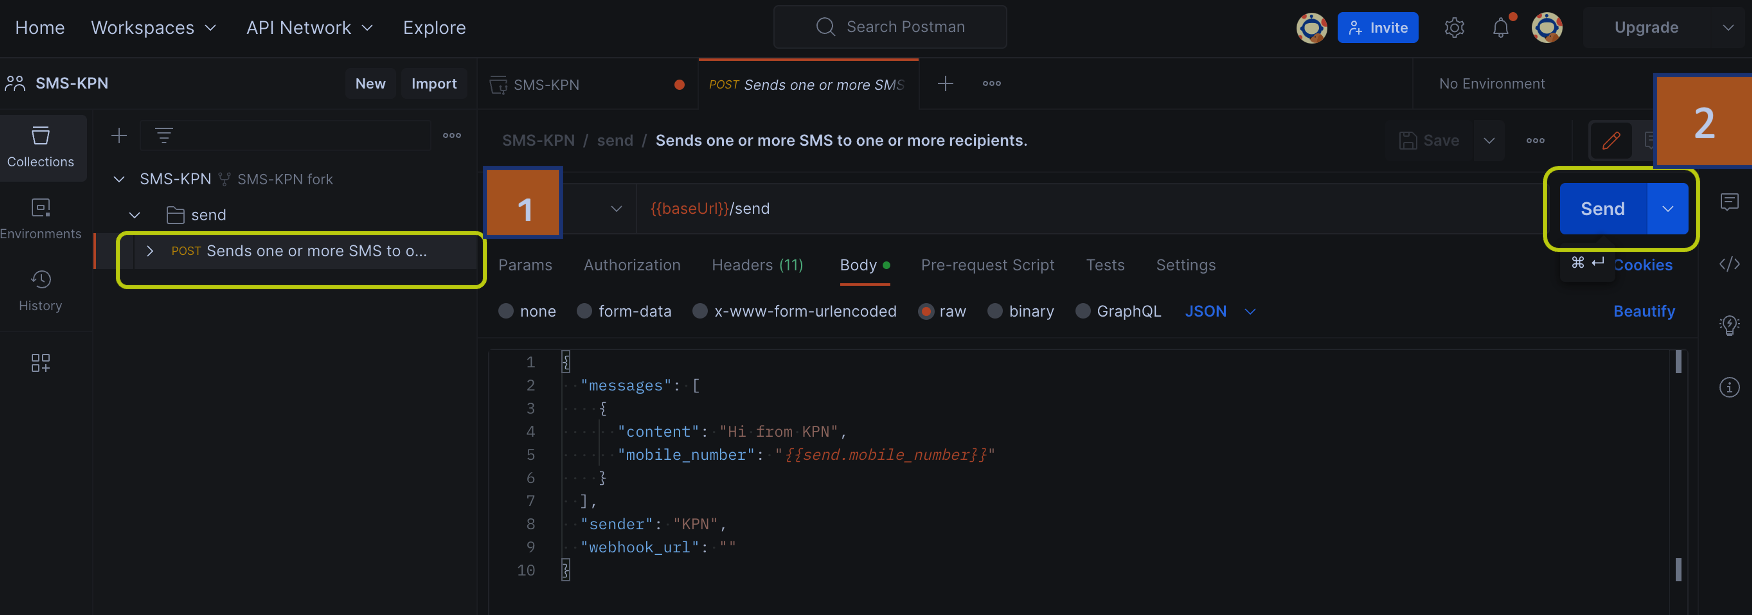
Check the response in the "Response" section.