Grip Documentation
Introduction
If you have created an account on Developer Portal, you are already using Grip. Grip is a KPN identity and access management solution which acts as a central identity hub between your services & applications and your users or customers. KPN uses it as an engine for business market services that require authentication & authorization. But you can also use it as the identity & access management engine behind applications, services & portals you develop yourself for your own users (employees, partners, customers, etc.).
This Grip documentation comprises 3 functions :
- User API
- SAML 2.0
- OpenID Connect
API specification
OpenID Connect Swagger reference
Base URL
User API:
https://api.grip-on-it.com/users/
OIDC & SAML APIs:
https://auth.grip-on-it.com/
Functional building bocks
The Grip service consists of the following functional components:
- Administration: via a portal you can manage your Grip settings, users (customers, employees,...), services, roles, etc.
- Authentication: the actual authentication & authorization dialog used by your users to login to services, applications, portals, etc.
- Service integration: the capabilities to develop your own services and integrate them in such a way you can make use of Grip functionality from within your developed solution
The documentation here will focus on the User API. Full Grip documentation can be found here: https://grip.kpn.com/en.
Definitions
Tenant
A tenant is the environment in Grip assigned to your organization. It contains your users and the services they can authenticate to.
User
A user always belongs to a tenant. Using your email address, you could create multiple users in different tenants.
Services
Rights to use services can be applied to users. Using a service template, you can automate this for new users or other events.
Prerequirements
- A Grip tenant. Every registered developer at the Developer Portal already has access to its own sandbox Grip tenant.
Features and constraints
Features
Grip service integrations allows you as a developer to build your own applications, services, portals etc. and use the Grip back-end for all your user management needs. It offers APIs to integrate following functionality inside your solution:
- user registration
- user authentication & authorization, in three variants:
- SAML 2.0
- OpenIDConnect
- Machine 2 Machine (OAuth 2)
- password reset functionality
Constraints
The sandbox Grip tenant has the following limitations:
- Max number of users: 10
- Max number of services: 10
- Max number of API Keys: 10
- Max number of divisions: 10
- Max number of departments: 10
- Max number of directories: 10
- Max number of identity providers: 10
- Max number of homepage templates: 10
- Max number of widget templates: 10
Purchasing the commercial Grip service from KPN will lift all these limitations.
Getting started
Setting up your account
To start using Grip in sandbox mode, all you have to do is to create an account on the KPN Developer Portal. If you haven't done so already, its only a 4-field single form away: https://developer.kpn.com/myapistore/register. Your Developer Portal developer account is already a Grip account. You can use the API on your own tenant and create new users, add services, etc. to this account.
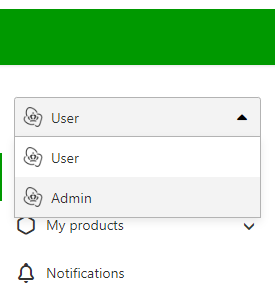
First we need to enable your account for using the Grip API and generate a clientID/client secret to get access. Log in into your account at https://id.kpn.com using the same email/password you registered with on the Developer Portal. This will redirect you to MijnZakelijk and you will end up in your KPN developer account. On the left hand navigation menu, currently 'User' is selected but we want do some administrative operations. Select 'Admin' in the dropdown box.
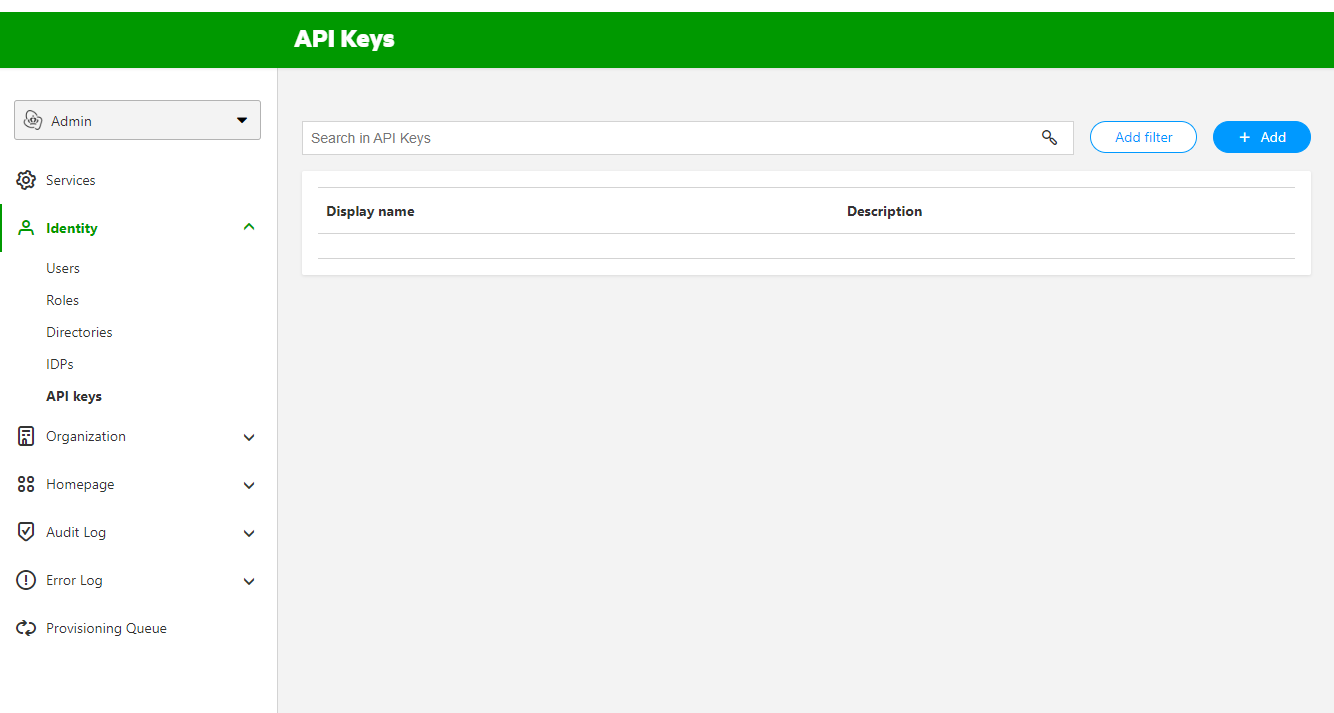
Next on the left hand navigation menu, click on 'Identity' and then on 'API keys'. In this screen click top right on the '+ Add' button to add an API key.
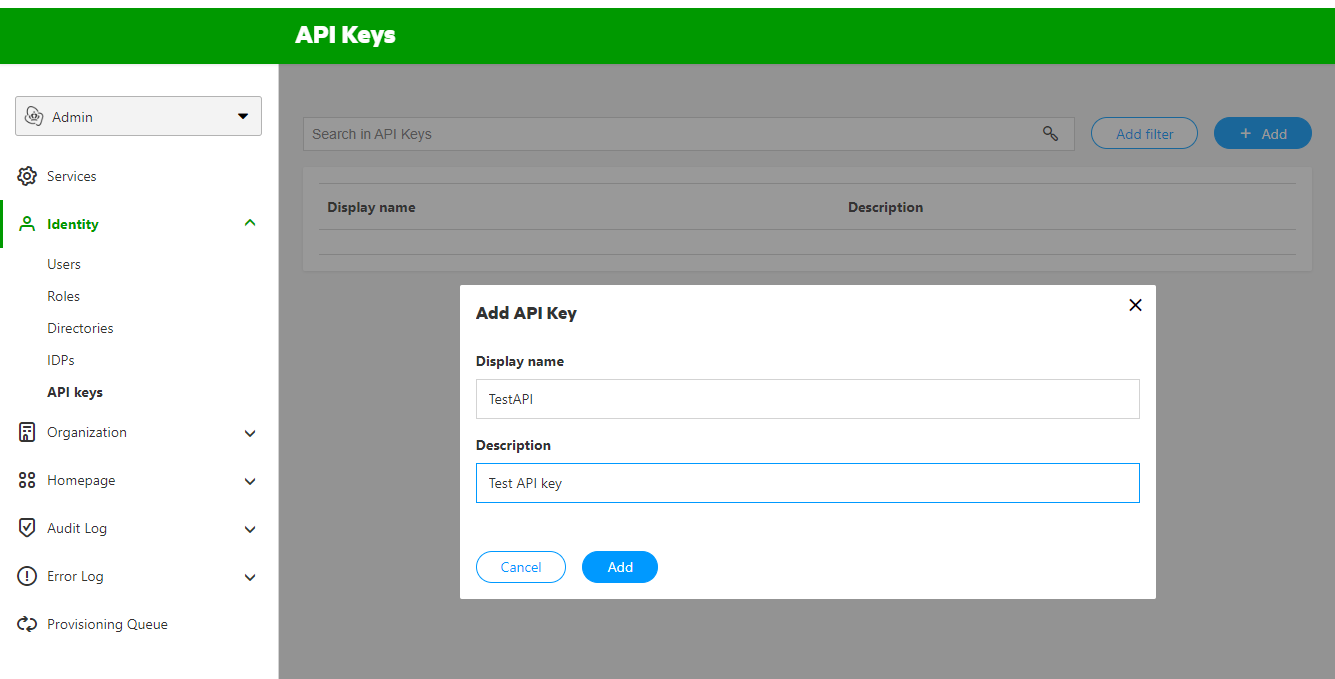
In the pop-up screen, name your API key and add a description. Click the 'Add' button. This will create the API key for you.
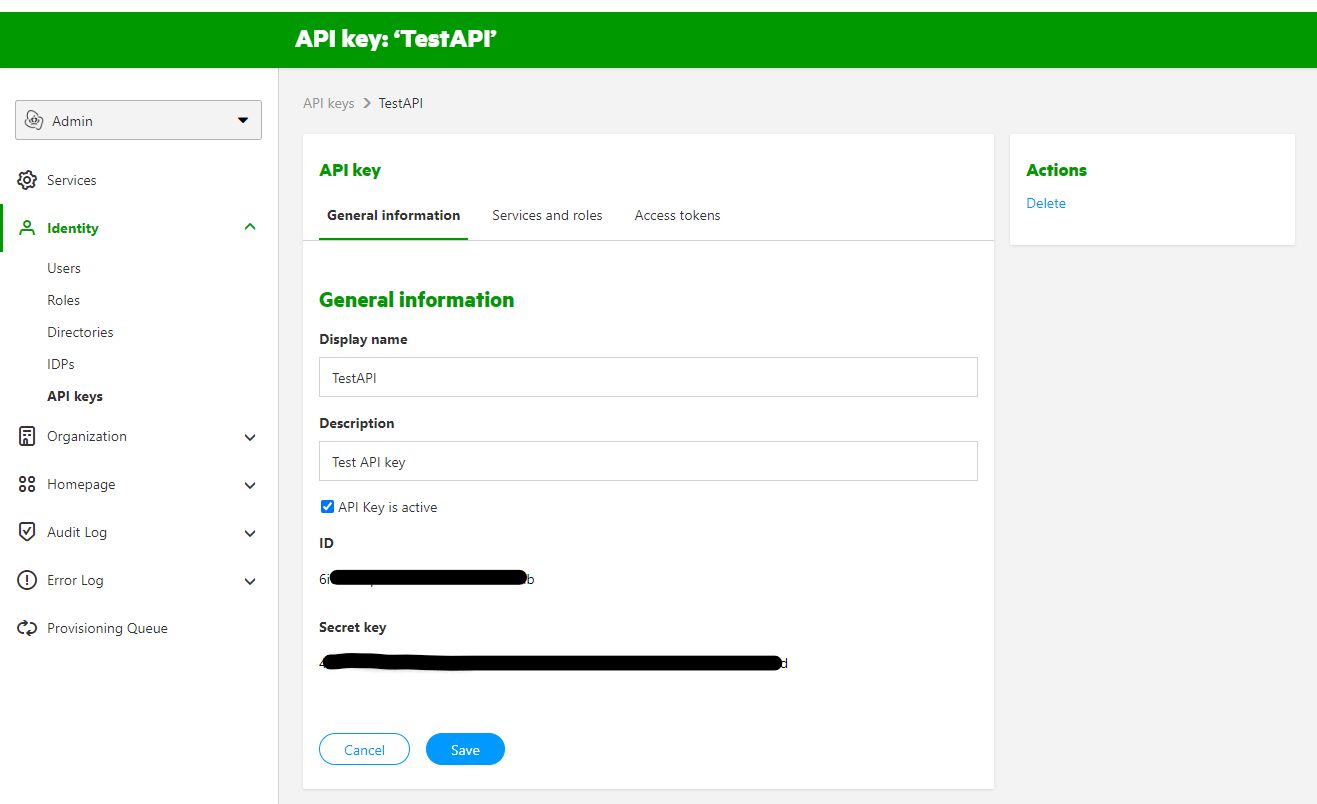
Select the API key from the list. You will see the client ID and client Secret on the tab 'General information'. This is what you use to authenticate for the GRIP API.
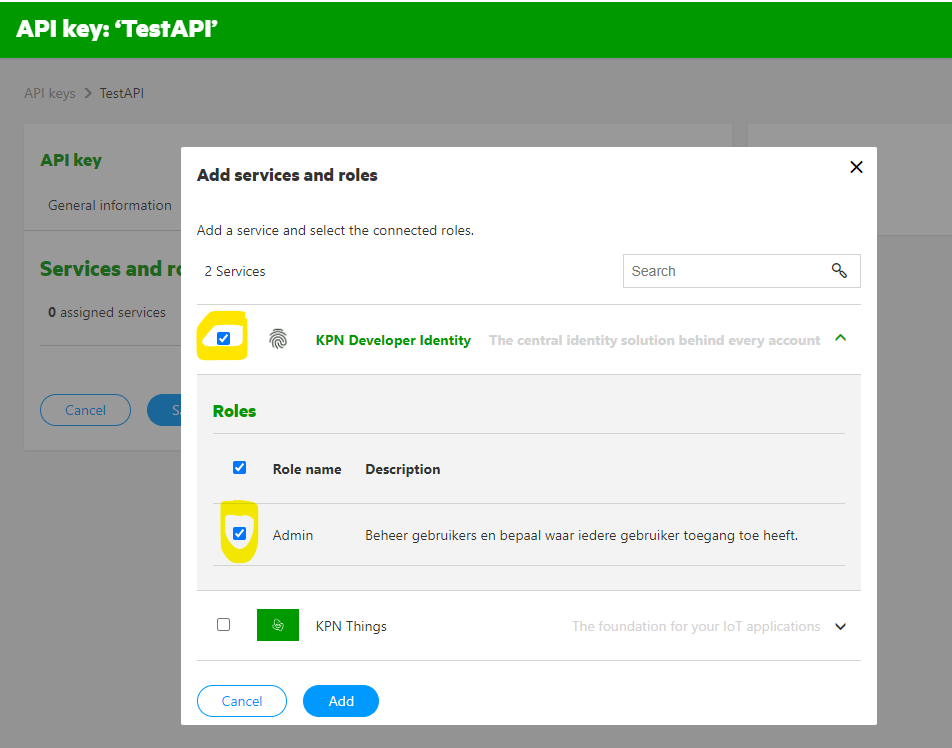
Now we are going to add a service to the API key. In the API key screen select the 'Services and roles' tab and click '+ Add'. In the popup screen check the KPN Developer Identity service and check the Admin role. Click the Add button to save the changes.
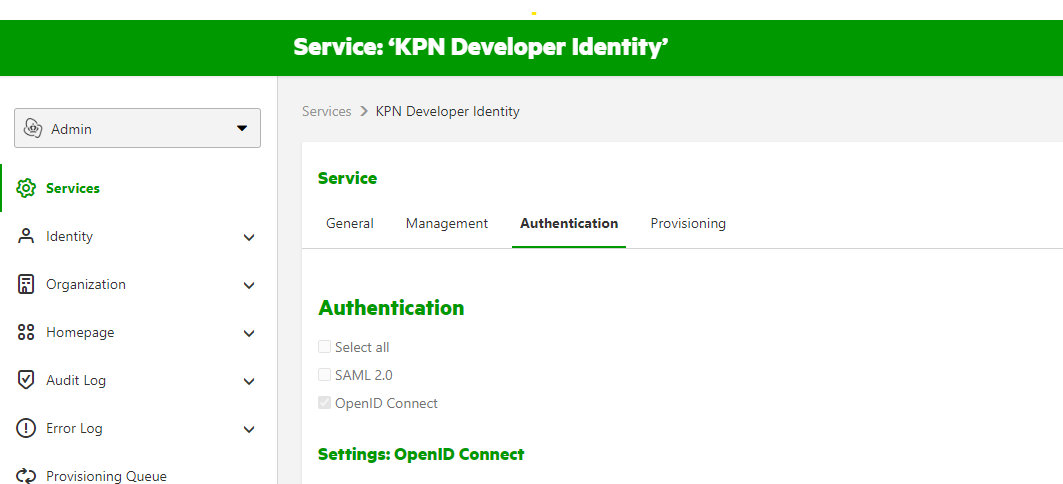
To make the API calls to Grip, we also need the audience ID. Let's show were you can find this. On the left side Admin menu, select 'Services'. Click on the KPN Developer Identity service and select the 'Authentication' tab.
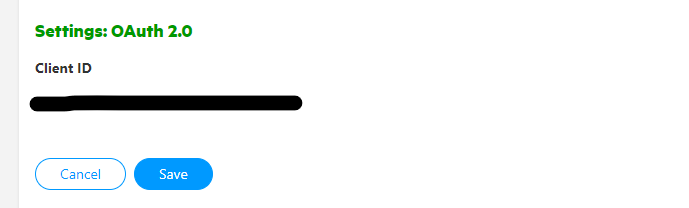
Now scroll all the way down on this page. Here you will find the Client ID under Settings: OAuth 2.0. This is your audience ID.
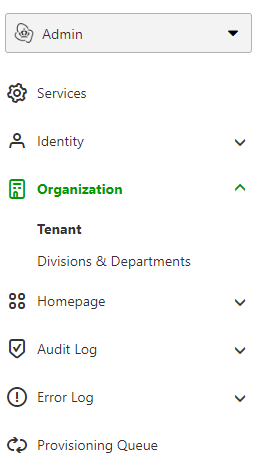
The last thing to collect is your tenant ID. In the left navigation, open the item called 'Organisation' and click on the item called 'Tenant'. On this page you will find your tenant ID. If you take a look at the URL you will notice that your tenant ID is also present there.
API request - Get Users
With the collected credentials, let's authenticate for the Grip API first. Make a POST request to this URL. Replace {tenant.id} with your own tenant ID.
https://auth.grip-on-it.com/v2/{tenant.id}/oidc/idp/token
In the payload provide a json structure like this, and replace the {audience.id}, {client.id} and {client.secret} with your own:
{
"grant_type": "client_credentials",
"audience": "{audience.id}",
"client_id": "{client.id}",
"client_secret": "{client.secret}"
}
Now submit the API request. You should get a result like this:
{
"access_token": "ey............................7g",
"token_type": "Bearer",
"expires_in": 300,
"scope": ""
}
We will need the Bearer access token in our subsequent requests. Create a GET request to this URL. For the {attributes} and {sortBy}, use the value userName.
https://api.grip-on-it.com/users/v2/Users/?attributes={attributes}&sortBy={sortBy}
Add a new Header to the request with key Authorization and value Bearer {access_token}. Replace {access_token} with the Bearer token that you got from the authentication request. Now issue the API request. The result will look this:
{
"Resources": [
{
"userName": "eric@thinkofsomething.bla",
"id": "i2....40",
"meta": {
"lastModified": "2022-06-02T13:53:02.000Z",
"created": "2021-02-01T10:09:21.000Z",
"location": "https://www.grip-on-it.com/users/v2/Users/i2....40",
"resourceType": "User",
"version": "18......Po"
}
}
],
"totalResults": 1,
"startIndex": 1,
"itemsPerPage": 50,
"schemas": [
"urn:ietf:params:scim:api:messages:2.0:ListResponse"
]
}
Additional resources
So there you go. This is the first request of many possibilities with Grip.
The Grip team have a lot of documentation ready for you. To dive down deeper, please read the following resources: